
Boost the Quality of Your Product Images: A Comprehensive Guide

drop shadow photoshop
In today’s highly visual digital marketplace, the quality of your product images can make or break your online business. High-quality product images are crucial for attracting and retaining customers, as they provide a clear and detailed representation of your products. This guide will walk you through various techniques and tips to boost the quality of your product images, ensuring they are professional, appealing, and effective in driving sales.
Table of Contents
1. Invest in Good Equipment
Camera
While smartphone cameras have improved significantly, investing in a good DSLR or mirrorless camera can make a substantial difference in image quality. These cameras offer better resolution, manual control over settings, and superior lenses.
Lenses
Choose a lens that suits your product type. A macro lens is ideal for small objects, while a standard lens works well for more oversized items. A prime lens with a fixed focal length often provides better clarity and sharpness than zoom lenses.
Tripod
A sturdy tripod is essential for maintaining stability and ensuring sharp images. It also allows you to use slower shutter speeds without camera shake, which is particularly useful in low-light conditions.
2. Use Proper Lighting
Lighting is one of the most critical factors in photography. Proper lighting can accurately highlight your product’s features, textures, and colors.
Natural Light
Natural light is free and effective. Set up your photo shoot near a large window to use soft, diffused light. Avoid direct sunlight, as it can create harsh shadows.
Artificial Light
If natural light is not available, use artificial lighting. Softbox lights and LED panels are excellent for creating even, diffused light that minimizes shadows. Position your lights at a 45-degree angle to your product to achieve balanced lighting.
Light Tents
A light tent (or lightbox) can provide a controlled environment with even lighting for smaller products. It diffuses light from all directions, reducing harsh shadows and reflections.
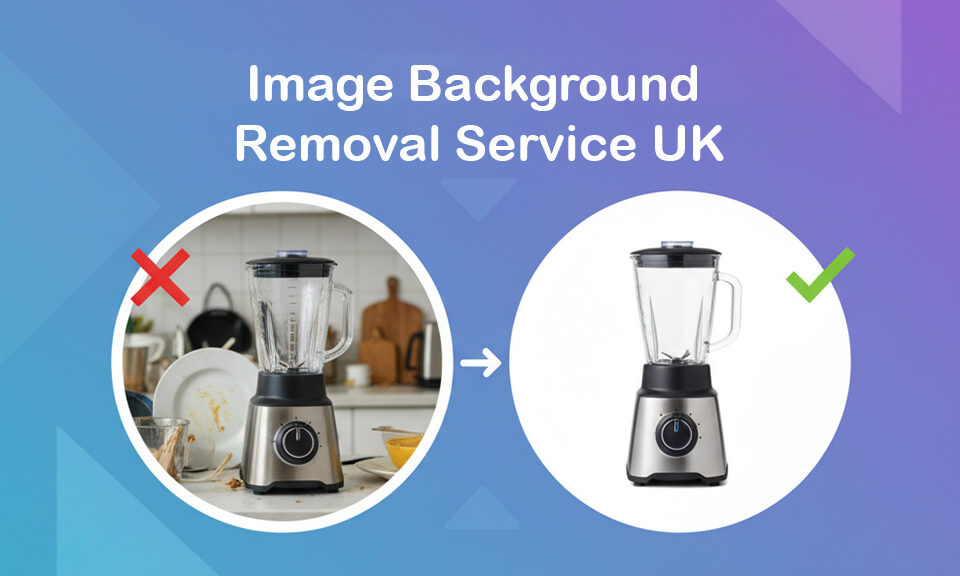
3. Set Up a Clean Background
A clean, uncluttered background ensures that the focus remains on your product. White backgrounds are popular because they are simple and professional and make colors pop.
Sweep Backgrounds
Use a sweep background that transitions smoothly from the vertical to the horizontal surface. This creates a seamless background without distracting lines or edges.
Colored or Textured Backgrounds
While white is standard, colored or textured backgrounds can add interest and context. Ensure the background complements rather than distracts from the product.
4. Master Composition
Good composition directs the viewer’s eye to the most critical parts of the image.
Rule of Thirds
Divide your frame into a 3×3 grid and place your product along the grid lines or at their intersections. This creates a balanced and visually appealing composition.
Leading Lines
Use leading lines to draw attention to your product. These can be actual lines within the scene or implied lines created by the arrangement of objects.
Negative Space
Incorporate negative space (space around the product) to give the image breathing room and focus the viewer’s attention on the product.
5. Use Reflectors and Diffusers
Reflectors and diffusers help control light and shadows, improving the overall quality of your images.
Reflectors
Reflectors bounce light back onto the product, filling in shadows and adding detail. They can be as simple as a white foam board or a professional silver reflector.
Diffusers
Diffusers soften harsh light, creating a more even and natural look. You can use commercial diffusers or DIY solutions like a white sheet or translucent paper.
6. Capture Multiple Angles and Details
Providing various perspectives on your product helps customers understand what they’re buying.
Multiple Angles
Shoot your product from different angles to showcase all its features. Include front, back, side, and top views.
Close-ups
Capture close-up shots of essential details, such as textures, labels, and unique features. This adds value and credibility to your product listings.
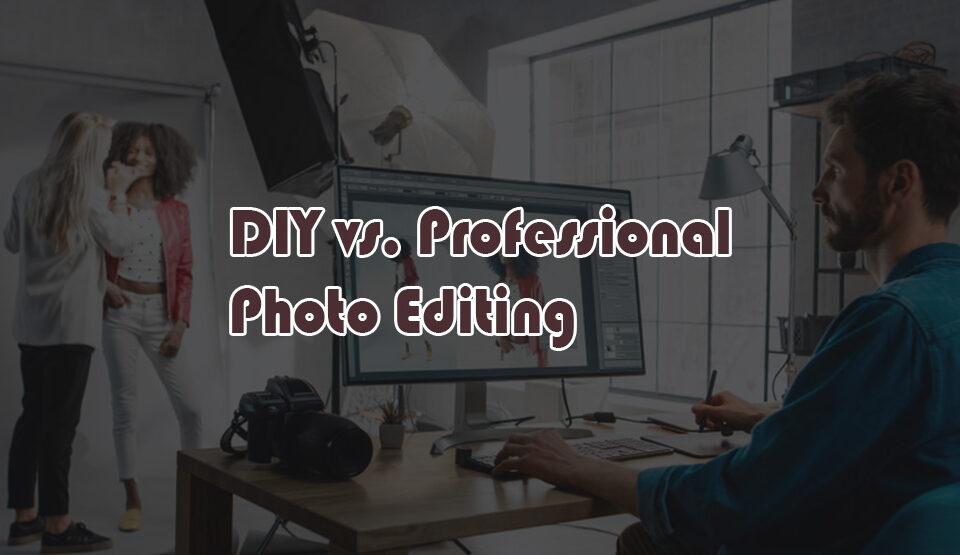
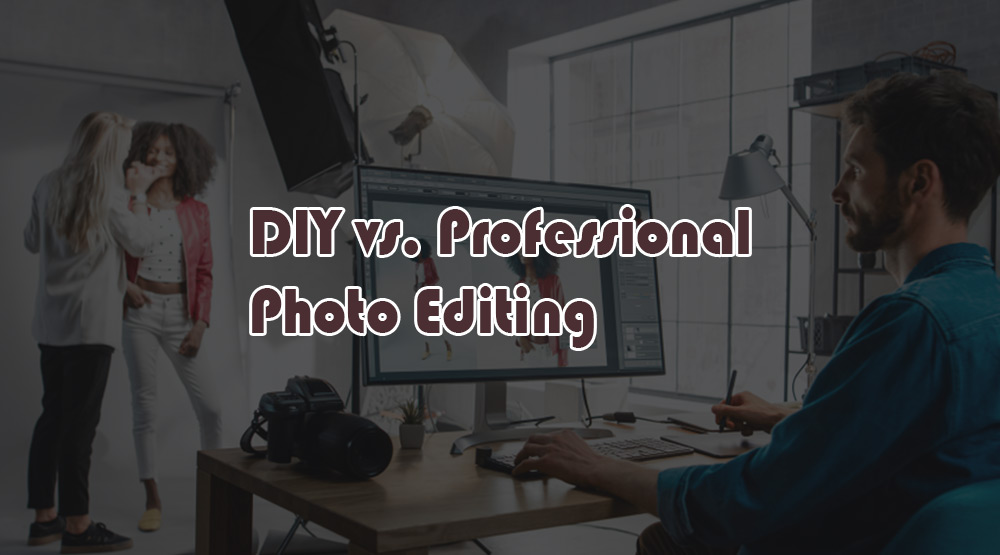
7. Post-Processing
Editing your images can enhance their quality and make them more appealing.
Software
Use photo editing software like Adobe Photoshop, Lightroom, or free alternatives like GIMP. These tools offer powerful editing capabilities to adjust exposure, contrast, colors, and sharpness.
Basic Adjustments
Adjust brightness, contrast, and saturation to ensure your product looks its best. Crop the image to remove any unwanted elements and improve composition.
Retouching
Retouch your images to remove blemishes, dust, or scratches. Use tools like the Clone Stamp or Healing Brush in Photoshop for precise retouching.

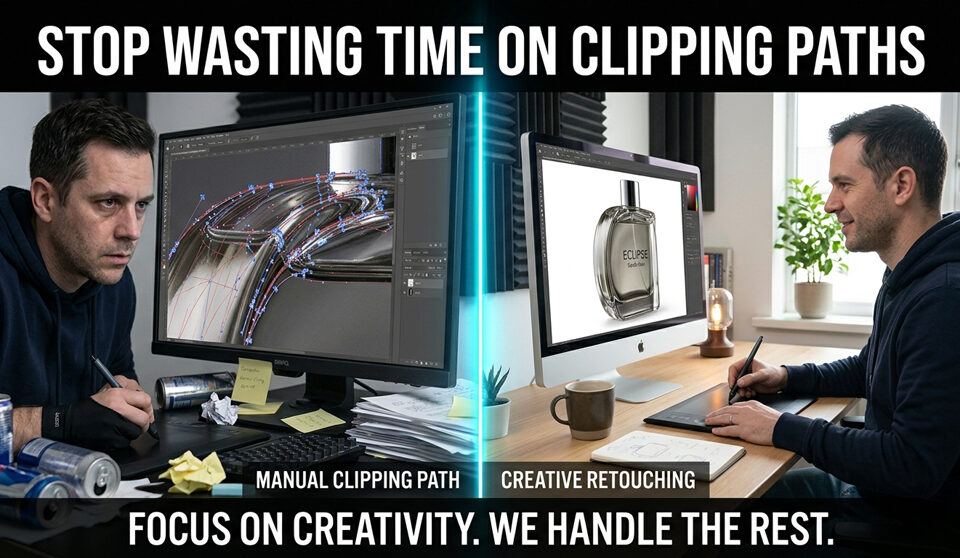
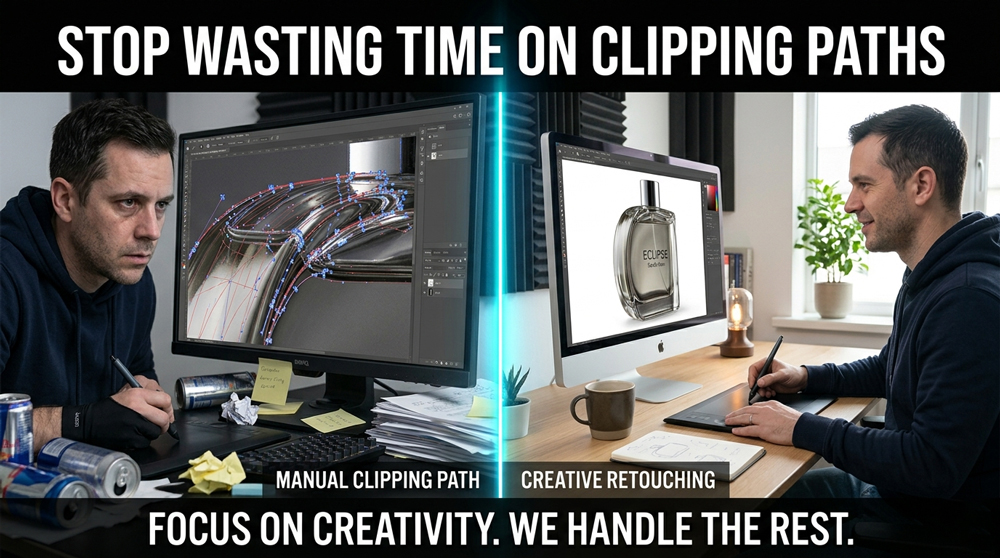
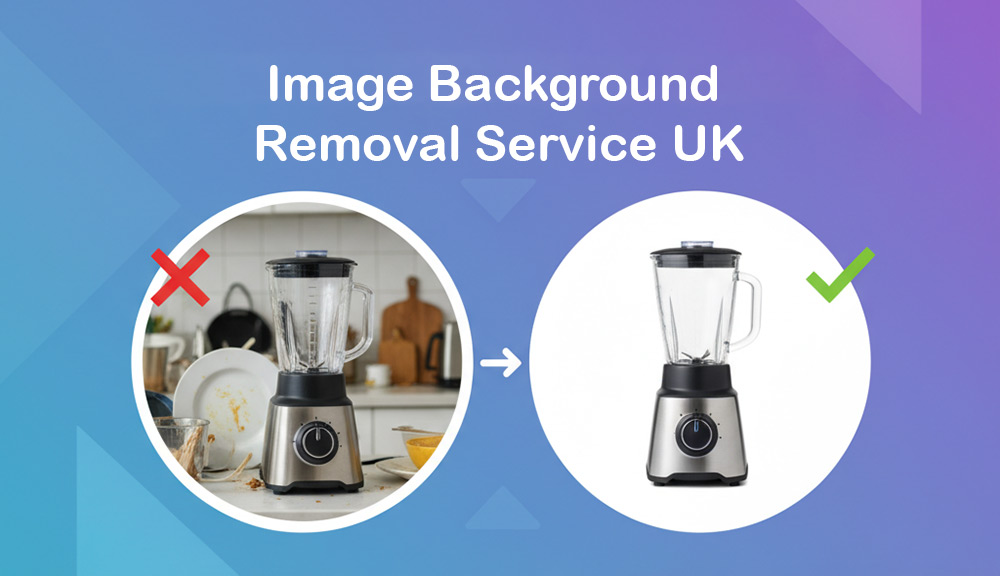
Background Removal
If your background is not ideal, use editing tools to remove it and replace it with a clean, consistent background. Photoshop’s Pen Tool or Magic Wand Tool can be helpful for this.

8. Consistency is Key
Consistent images across your product listings create a cohesive and professional look.
Lighting and Background
Ensure the lighting and background are consistent for all product images. This helps maintain a uniform appearance and reinforces your brand’s identity.
Size and Aspect Ratio
Keep the size and aspect ratio consistent for all your images. This ensures that they display correctly on different platforms and devices.
Editing Style
Develop a consistent editing style for your images. This includes color correction, brightness, contrast adjustments, and any filters or effects you apply.
9. Use High-Resolution Images
High-resolution images provide more detail and clarity, which is crucial for online shoppers who cannot inspect the product in person.
Resolution
Shoot and save your images in high resolution. For e-commerce listings, a minimum of 1500 pixels on the longest side is recommended.
Compression
When saving your images, use a compression setting that balances quality and file size. Avoid excessive compression, as it can degrade image quality.
10. Test and Optimize
Regularly test and optimize your product images to ensure they perform well.
A/B Testing
Conduct A/B testing with different versions of your product images to see which ones perform better in engagement and sales.
Feedback
Seek feedback from customers and peers to identify areas for improvement. Use this feedback to refine your photography and editing techniques.
Conclusion
Boosting the quality of your product images involves a combination of sound equipment, proper lighting, clean backgrounds, strong composition, and thorough post-processing. By following these tips and techniques, you can create professional, high-quality images that attract and retain customers, ultimately driving sales and growing your business. Investing time and effort into your product photography can yield significant returns through increased customer satisfaction and conversion rates. Happy shooting!


2 Comments
It’s extremely pleasant and great tips for boosting the nature of item pictures. Contingent upon your requirements, the brilliance, difference or shading can be improved.
The item modifying is the delegated magnificence at which residue, scratches, and problematic components can be expelled.
Thanks a lot 🙂