
What is Clipping Path in Photoshop?
What is Clipping Path in Photoshop?
If you want to cut out images from any background professionally, then you should use the Photoshop pen tool. The pen tool will help you create a clipping path around the object. In this article, we are going to show you what a clipping path is in Photoshop. Let’s start reading the post.
Table of Contents
What is Clipping Path?
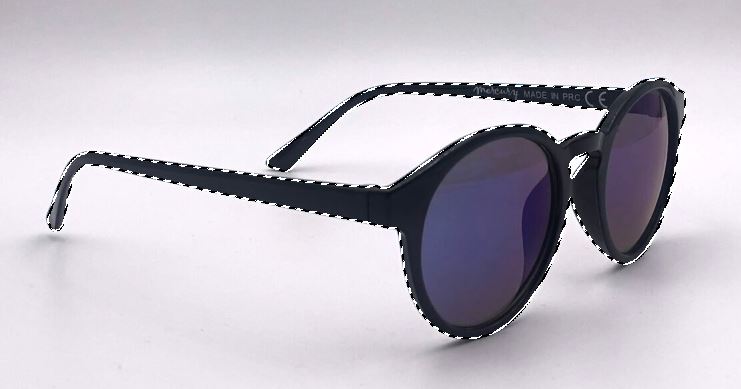
Clipping Path is a technique in Adobe Photoshop that lets you eliminate unwanted backgrounds from images without compromising the quality. There are several reasons for doing this, but the most fundamental one is when there is no correlation between the subject or object of an image and the background. For a better understanding of what we are saying, check out the image below:

Although both the background and subject are the same color, the photograph seems too sharp, making it unprofessional and unreal.
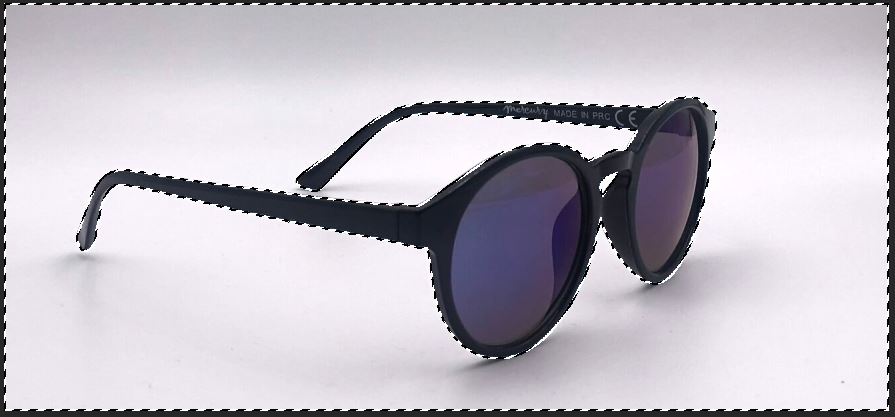
Now, let’s try another background.
How does it look?
Fantastic right?
Well, that’s the work of Clipping Path. The technique lets you make necessary adjustments to the background of any image. However, there is a big question, and that is, ‘How do you execute this task?’ Well, a guide is given below to help you out. But before we go into that, let’s check out this Adobe Photoshop technique—image Masking—known to be quite similar to clipping path.
What is Image Masking?
Image Masking is a technique in Photoshop that lets end users get rid of unwanted backgrounds from images using Adobe Photoshop. It involves special tools like the ‘Background Eraser’ and ‘Magic Eraser’ tools. Also, the technique employs the ‘Color Separation’ method, which improves the background color of your image after the background removal service is completed. Image Masking is used chiefly on photographs with small details and fine lines.
Comparison: Clipping Path vs Image Masking
There is no doubt that clipping path and image masking are similar because both techniques provide background removal service on Adobe Photoshop. However, there are specific differences between both methods that most people don’t know. Listed below are some of the key differences between the two Adobe Photoshop background removal techniques:
Type of Tools: Although both techniques aim to provide similar services, the tools required to execute the task are different. For instance, while the clipping path and background removal techniques involve the use of the ‘Pen Tool’, image masking, on the other hand, requires the use of tools like ‘Background Erase’, ‘Magic Eraser’, or ‘Refine Mask‘.
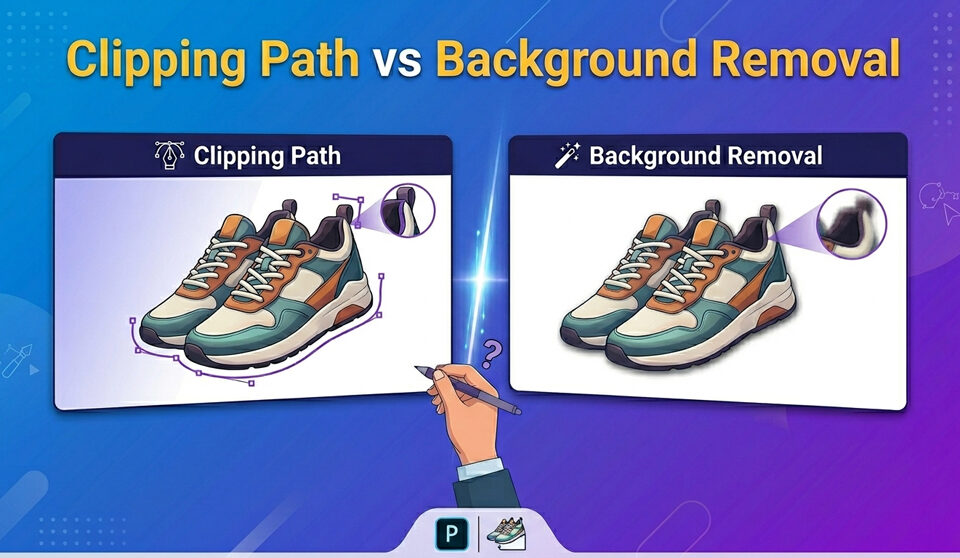
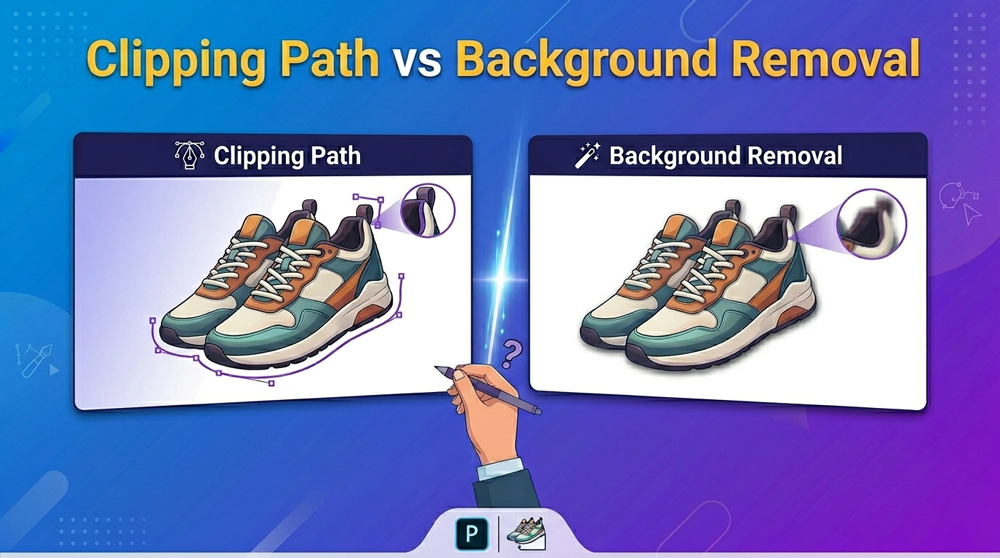
The complexity of the Image: By ‘complexity of the image’, we refer to the technicality of the image. Image masking is mainly used on images with complex details, while the clipping path works perfectly on images whose details can be easily adjusted. For a visual understanding of what we are trying to explain, check out the image below:

Clipping Path vs Image Masking
As you can see, the image on the left, which involves the clipping path technique, looks unprofessional, while that on the right looks amazing and eye-catching.
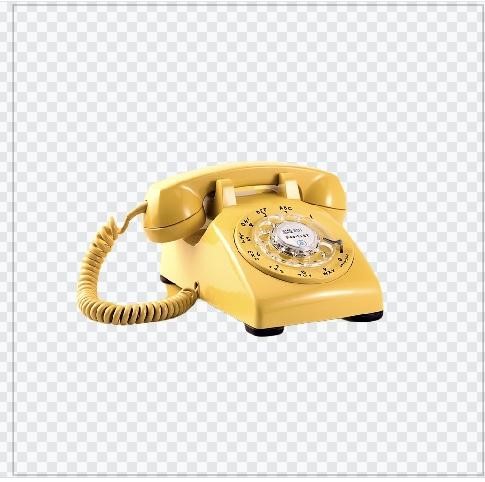
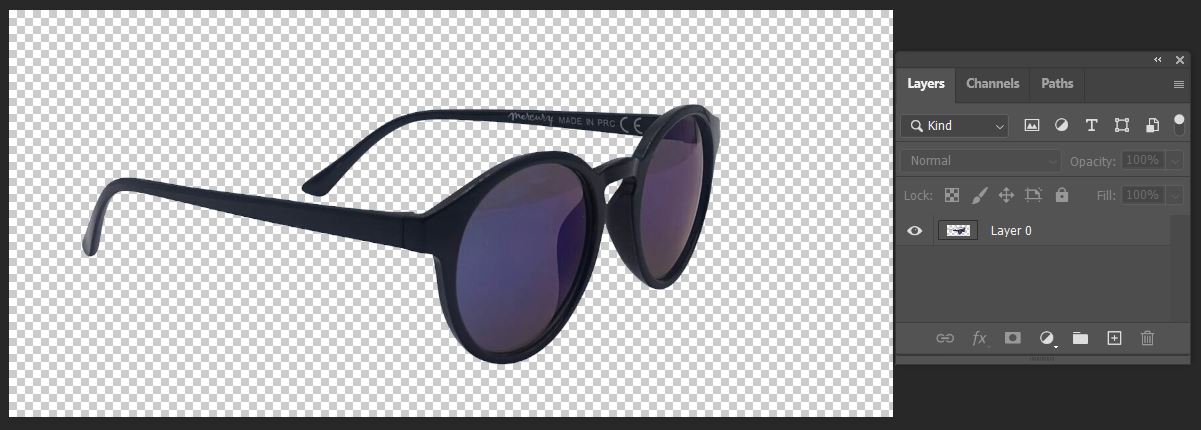
Addition of Content or Transparency: Another feature that differentiates image masking from the clipping path is the formation of transparency or adding new content (a change in background color). When you use the clipping path technique on an image, a transparent background in the form of a checkerboard is created. However, image masking, on the other hand, lets you add a new layer to the image background. What this means, in essence, is that you are allowed to change an image’s background color by using the ‘Color Separation’ technique.
Guide to Creating a Clipping Path in Photoshop
Install a suitable version of Adobe Photoshop on your PC and then apply the stepwise guide below to clip out the unwanted background from your images:
Step 1: Find and click on ‘File’ at the top left corner of the software interface, then scroll down to the option ‘Open’. Next, you will be directed to your PC’s local drive, where your images are stored. Select your desired image, then click on ‘Open’.
Step 2: Now, go to the toolbar palette on the left-hand side of the software to select ‘Pen Tool.’ Alternatively, you could hit the hotkey ‘P’ on your keyboard. Your mouse will immediately switch to what you see in the image below:

Step 3: Use the ‘Pen Tool’ to draw a path around the subject or object in your photograph. Ensure that the path created is appropriately drawn.
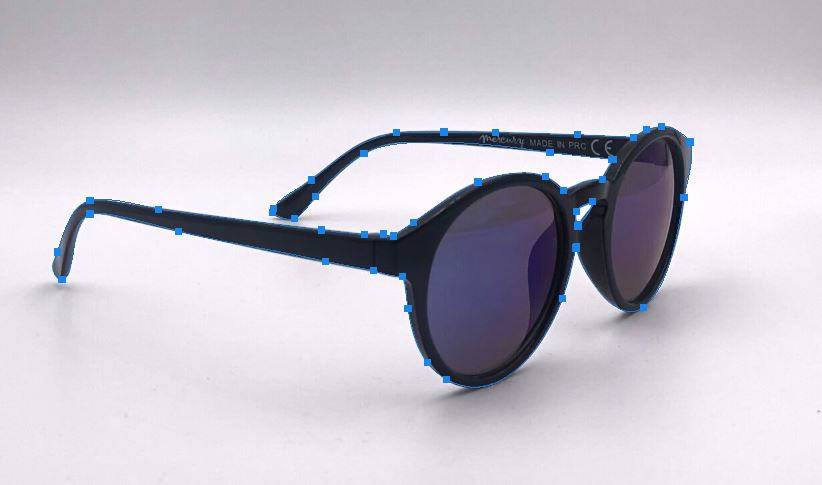
Draw path
Step 4: You must refine your selection to eliminate unwanted paths or perfect your path creation. To do this, see the bulleted steps below:
- Select the ‘Direct Selection’ tool found underneath the ‘Path Selection’ tool and then zoom in on the image so you can quickly draw a clear path
- If you make a mistake by missing an anchor point, select the ‘Pen Tool’ with ‘+’ on it. The ‘+’ lets you insert an anchor point wherever it’s missing.
Step 5: Select the path from the path panel, then click the Make Selection tool from the top menu.
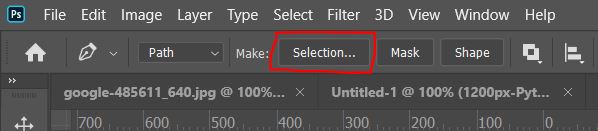
Then, a dialogue box will appear on the screen. Now set the Feather radius to 0.5 and hit the OK button.

Now, the path will be selected around the Object.
 Step 6: After completing the step above, you should invert your selection. You can do this by clicking the hotkeys ‘Ctrl’ + ‘Shift’ + ‘I.’ Another way is to right-click on the selection and then tap on Invert Selection from the list of options that appear. Now, your choice will switch from the subject to the background.
Step 7: Now, we have to unlock the original layer. Click the “lock” icon, and then the layer will unlock automatically.
 Step 8: Hit the ‘Backspace’ or ‘Delete‘ button on your keyboard to delete or erase that background from your image.
Step 9: You have to move the edited photograph to your hard drive. You can achieve this by clicking ‘File’, scrolling down to ‘Save’, and then selecting a destination folder to export the file. You could also choose to use the hotkeys ‘Ctrl’ + ‘S’ to do this.
Clipping Path Video tutorial
Conclusion
Clipping Path is the best way to eliminate those unwanted details from your image. The technique is simple, as shown in the above stepwise guide. Select the Pen Tool, follow the tutorial guide in the article and you are good to go. You can request Clipping Path Creative Ltd to help you with this clipping path service task. All you have to do is deposit a token, send your desired image to execute the clipping path technique, and then wait to see the magic the company performs on your pictures. The final file is sent to you via email or any convenient method that you prefer.


