
How to turn off Grids in photoshop
If you’re working on a project in Photoshop that involves designing something for print, you’ll need to know how to turn off the gridlines. Gridlines can be helpful when aligning elements on your canvas, but they can also be distracting. In this article, we’ll show you how to turn off the grids in Photoshop so you can focus on your work.
Table of Contents
What are grids in Photoshop?
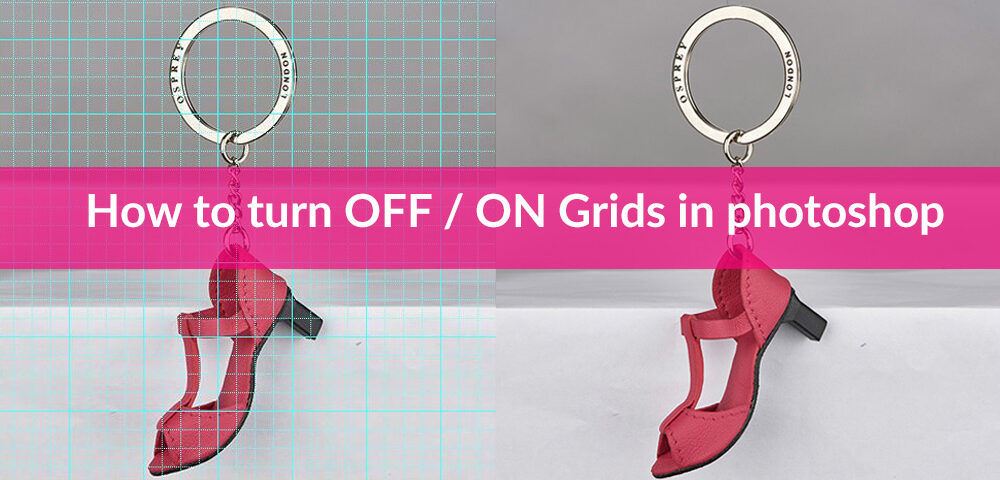
A grid is a lineal structure consisting of horizontal and vertical lines that cross to form squares. It is used to line objects on a page. This is an example of a Photoshop grid:
The most common grids are 3 x 3 and 4 x 4.
Why should you use grids in Photoshop?
Grids are a vital part of any design. They help to guide the user’s eye around the page and allow people to understand your design better. The grid also helps keep everything on your page in proportion. It is essential to use grids in every design. Even if you are not going for a strict grid-based system, you should consider using some grid method as it will help keep your design organized and looking professional.
Show grids In Photoshop
If you’re working on a design in Photoshop that requires precise measurements, you might find the gridlines helpful. It’s pretty easy to show grids in Photoshop. You can do it in a few ways. Here how:
First way: Use the Menu Bar
1. Open your image in Photoshop. Go to File > Open,

select the desired image, and click Open.
2. Go to View > Show > Grid,

Now checkmark Grid, and then Gridlines will appear on the canvas.

Second way: Use Shortcut Keys
1. Open the desired image by pressing Control (Mac command) + O.
2. you can use the keyboard shortcut Control (Mac command) + ‘ (apostrophe) to display Gridlines.
Turn off Grids in Photoshop
If you’re working on a design in Photoshop and don’t want the grid to be visible, you can turn it off in a few ways. Here how –
First way: Use the Menu Bar
Click on the View menu from the top bar and click Show Button. Then go to View> Show > Grid. When you uncheck the grid, the gridlines will turn off from the canvas.

Second, use shortcut keys
. You can use the keyboard shortcut Control (Mac command) + ‘ (apostrophe) to turn off Grids in Photoshop.
Change the color of Gird Lines in Photoshop.
If you want to change the color or adjust the spacing of the gridlines, go to Edit > Preferences > Guides, Grid & Slices or Press Control (Mac command) + K, then select Guides, Grid, and Slices.

Now, popup the preference interface on the window
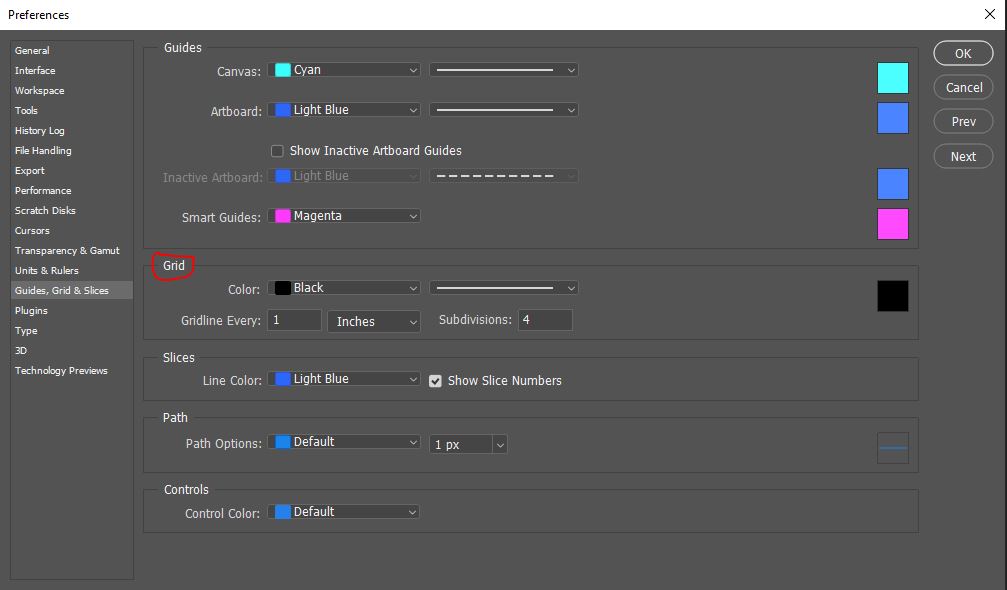
Under Gridline Every, enter how often you want a line to appear. Under Color, you can also change the grid’s Color.

Done!
Watch the Video tutorial.
Faqs
How do I adjust the grid size in Photoshop?
When working in Photoshop, you may want to adjust the grid size. Maybe you want to make the grid smaller so that you can have more precise control over your images, or maybe you want to make the grid larger so that you can see your image better. Whatever your reason, adjusting the grid size in Photoshop is easy.
Click Edit > Preferences > Guides & Grid to adjust the grid size. Now, you can change the Gridline Every setting to whatever you want. The default setting is 1 inch, but you can change it from 1 pixel to 1 million pixels. Remember that Photoshop automatically adjusts the subdivision setting when you change the measurement.
Once you’ve adjusted the settings to your liking, click OK, and the new grid size will appear.
How do I create a custom grid in Photoshop?
When working on a design in Photoshop, you may find having a grid to align your elements helpful. You can create a custom grid that is the perfect size for your project by following these steps:
1. Open your image in Photoshop and select the “View” menu.
2. Click “New Guide Layout.” This will open a dialog box where you can set up your custom grid.
3. Enter the number of columns and rows you want in your grid, and then enter the width and height of each cell.
4. Click “OK” to close the dialog box and apply your new custom grid.
You can now use the guides to align elements in your design. To turn off the grid, return to the “View” menu and uncheck “Show Grid.
How do you disable gridlines in Photoshop?
In Photoshop, you can disable gridlines by going to the “View” menu and unchecking the option for “Show Grid.” This will make the gridlines disappear from your workspace. If you want to turn them back on, simply go to the “View” menu and recheck the “Show Grid” option.
If you have an older version of Photoshop, like CS5, the process is slightly different:
Select “View” from the top menu and then “ Extras…” near the bottom of the drop-down list. A check mark next to Extras means they are visible in your workspace; unchecking it will hide them.
Conclusions
Photoshop uses a grid of vertical and horizontal lines to divide an image area into a series of individual rectangles. The grid can help ensure your elements are correctly aligned when working on a design. However, you may find that you don’t need the grid or that it’s getting in the way of your work. If you don’t need it, you can turn off grids in Photoshop.


