
How to Resize Image in Photoshop

How to Resize Image in Photoshop
Resizing an image to fit your design with Adobe Photoshop can be challenging. But with this guide, you can execute the task with just a few clicks. So, continue reading to discover how to resize images in Photoshop.
Photoshop is a groundbreaking software that every photographer and graphics designer should have at their fingertips to excel. This toolkit has multitudes of functionalities, including image resizing, which makes it stand out.
Using Photoshop to resize your images is excellent as it maintains quality and saves time. However, operating the software is never a walk in the park. For this reason, some users have switched to using other programs that are of a low standard. Others even pay experts to help them out.
With both issues in mind, we’ve devised a means to easily resize images freely and quickly with Photoshop. This article is structured to help you out with that. If you want to upload pictures on Amazon and Shopify, you should follow their guidelines to resize your images.
Table of Contents
Guide to Resize Image in Photoshop
Resizing an image could mean increasing or decreasing its size while maintaining the quality of the image resolution. But whichever form you desire, this tutorial guide explains each of them.
How to Enlarge or Increase the Size of an Image with Photoshop
Follow the stepwise guide below to enlarge your images in Adobe Photoshop:
Step 1: Import an Image
Download, install, and launch Adobe Photoshop on your PC. When the software opens, click on the ‘File’ tab at the top right corner of your screen, scroll down, and then tap on the option ‘Open’. You will be directed to your local drive, where media is stored. Select your desired images from the list and then hit ‘Open’ to import them. Check the Tutorial on how to open an image in Photoshop.

Step 2: Open the Image Size Dialogue Box
Now, locate the icon ‘Image’ which is five options away to the right of ‘File’. Once you find it, click on it, and a drop-down menu will appear. Scroll down the list and then tap on ‘Image Size’. (Shortcut key for image size: Alt+Ctrl+I)

Immediately, an image dialogue box will come up on your screen.
Resize Images in Photoshop
Step 3: Adjust Image Size, Pixel Dimension, and Resolution
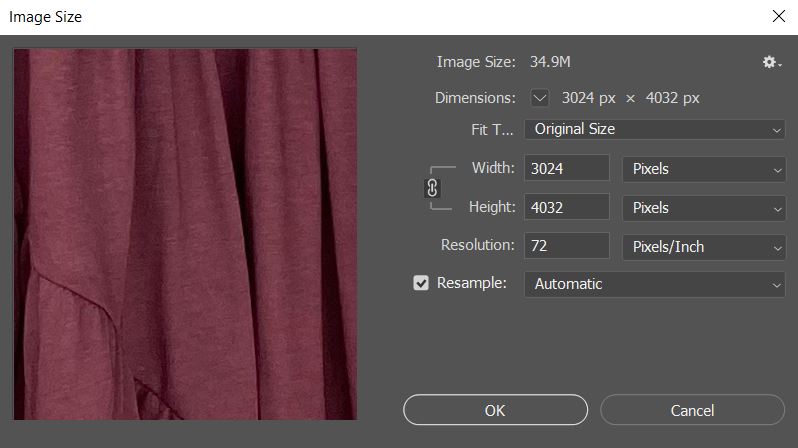
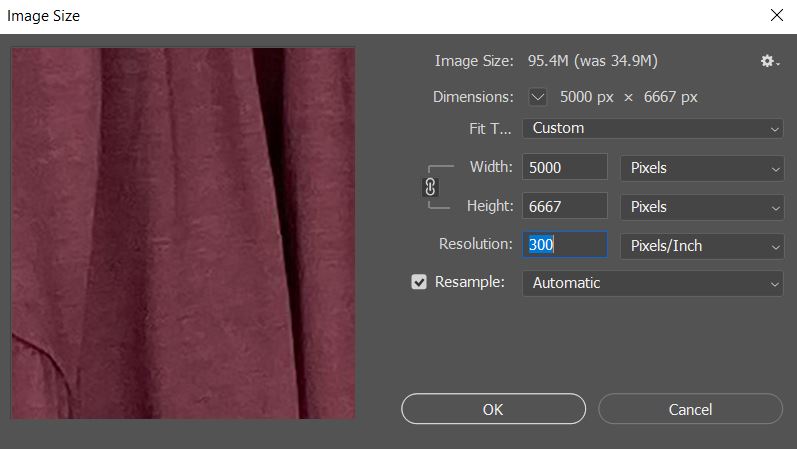
Next, look at the image default settings in the dialogue box. For the screenshot given, the current size of the image is “3024 px by 4032 px’’ and the resolution is 72dpi. So, let’s assume you want to increase it to “5000px by 6667px” and resolution to 300dpi; use the upper arrow buttons beside the width and height, respectively.
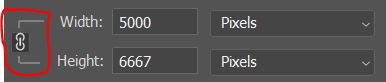
If you want to keep the image proportions, lock the width and height.
Step 4: Change the Resampling Method
Before you hit the ‘OK ‘ button, you must select a resampling method that fits the changes you made. Adobe Photoshop supports different types of resampling methods for each adjustment you make. Since the changes for this section involve enlarging the image size, we beseech you to select “Bicubic Smoother (enlargement).”
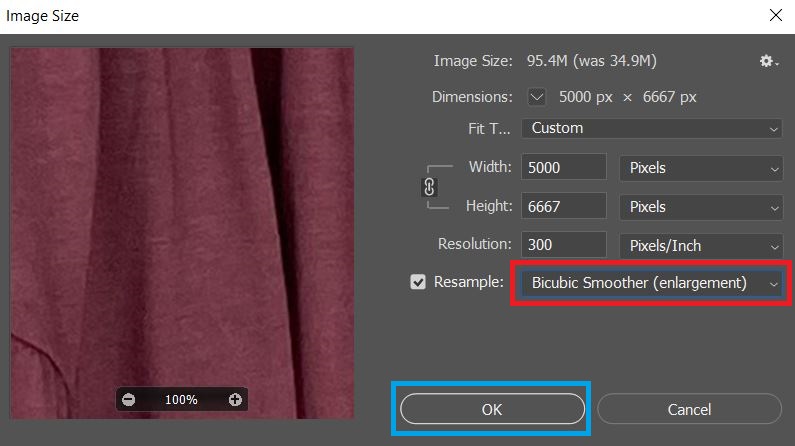
Once you are done with the adjustments, click the ‘Ok’ button to validate your request. After the enlargement, the image file size will increase.
Step 5: Save your File
Go to the File tab, then click Save as a button. The save dialogue box will appear on the screen. Select the file type as Jpeg or Png, then hit the Ok button.
How to Reduce or Decrease the Size of an Image in Photoshop
Are you not interested in the enlargement of an image but the size reduction? Then you should follow the stepwise guide below:
Step 1: Add an Image
Locate the ‘File’ tab at the top left corner of the software window, click on it, and then select ‘Open’ from the list of options.
Now, your local drive, where images are stored, will pop up on your screen. Pick an image and click ‘Open’ to add it to the Adobe Photoshop interface.
Step 2: Reduce the Image Size
Next, click on the ‘Image’ icon at the top of your screen, and a drop-down menu will pop up. Choose ‘Image Size’ from the options, and a dialogue box will come up, as shown below:
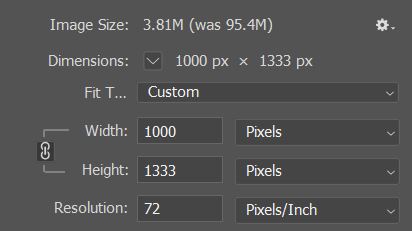
 Reduce the image size according to your preferences. We resized the image from “5000 x 6667px to 1000 x 1333px”. Now, let’s adjust the pixel dimensions and resolution to 1000 by 1333 pixels and 72ppi, respectively, to see their effect on image quality.
Step 3: Adjust the Resampling Method
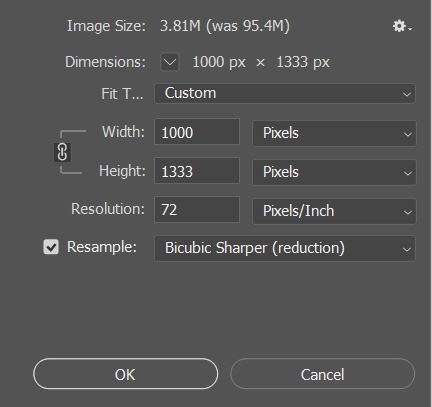
Lastly, adjust the resampling method so that Photoshop will generate the best results from your changes. As you can see from the image in step 2, the default resampling method is ’Bicubic Smoother (enlargement)’. Change the process to ’Bicubic Sharper (reduction)’ and then click the ‘OK’ button to validate the changes.
Step 4: Save the Image
You should save the image to follow the above method.
Tips on Using Photoshop to Resize an Image
Here are some tips to help you understand how the resizing of an image works with Adobe Photoshop:
- For your information, the stepwise guide shared above for enlarging and reducing the size of an image in Photoshop is perfect if you intend to print the image. That’s because we focused on image resolution. However, if you want to use the image for a website, you should focus on the pixel dimension.
- When selecting a resolution size for an image, you have to consider the size of the image. You should reduce the resolution size if you choose to enlarge your photo. And if you are reducing it, you need to raise the resolution. This might seem confusing, but here is the logic- when you make a 10” increment or decrement in the size of an image, try to increase or decrease the resolution by 10ppi, respectively.
Conclusion
Now that you have this tutorial guide, you shouldn’t find it hard to resize your image in Photoshop. Don’t waste your funds meeting graphics designers to help you out. The easiest and quickest means of executing the task have just been shared with you. Follow the instructions in the guide and be happy with the magic you performed with the most sophisticated photo editing/ graphics design software—Photoshop.
If you don’t have sufficient time to resize your images, you can hire us. Our professional photo editing team helps you resize your Photoshop images at reasonable prices. We can assure you of high-quality photo resizing services.
Also, You May Like to Read:


