
How to change brush size in gimp

Brushes are essential for all your artwork. Today, you’ll learn various methods to change the brush size with the GIMP editing tool. This includes altering via
- the tool options
- with keyboard shortcuts
- with your mouse wheel
Table of Contents
Increase the Brush Size
The tool settings are the first place to look for ways to change the size of your brush. Look within the tool choices once you’ve selected your brush. Find the slider icon labeled ‘Size’.
- Make changes using the down and up arrows (to the right).
- Alternatively, click within the slider and drag to the left or right to resize it.
- Otherwise, double-click the number and type in a specified size.
For reference, the stock brushes are not editable. Right-click a brush to make a copy, which you may edit if necessary. Alternatively, use the clone tool and a tiny fuzzy brush.
- The natural size of the brush is 51 (25 radius)
- The tool options allow you to adjust the size as needed, and you can also adjust the size without re-sampling.
Adjust the Paintbrush Size
Your next resizing option is the keyboard shortcuts. These “keys” are compatible with Mac and PC users.
Your bracket keys are the shortcuts. The left ( []) bracket sign makes your brush smaller, while the right ( ] ) bracket makes it more significant.
This will expand the size of the paintbrush by a 1px radius at a time! To accelerate the resizing, press “Shift + [ or ]” to increase or decrease the radius by 10px.
Adjust the Brush Size
This second technique is faster. You’ll need a mouse with a scroll wheel to use this option. Scroll away if you have one!
Is the Mouse Wheel Not Adjusting Your Brush?
If your mouse wheel doesn’t resize the brush as expected, there’s an easy fix. Navigate to the Preferences to set up your mouse wheel for adjusting the brush size;
Windows + Linux; Edit > Preferences
Mac; GIMP-(your version of GIMP) > Preferences
How to Resize Your Brushes in GIMP
Step One
Launch GIMP 2. Click the GIMP 2 program icon, which looks like an animal face with a paintbrush on its lips.
If you haven’t used GIMP in a while, it may take a few minutes to load.

Step Two
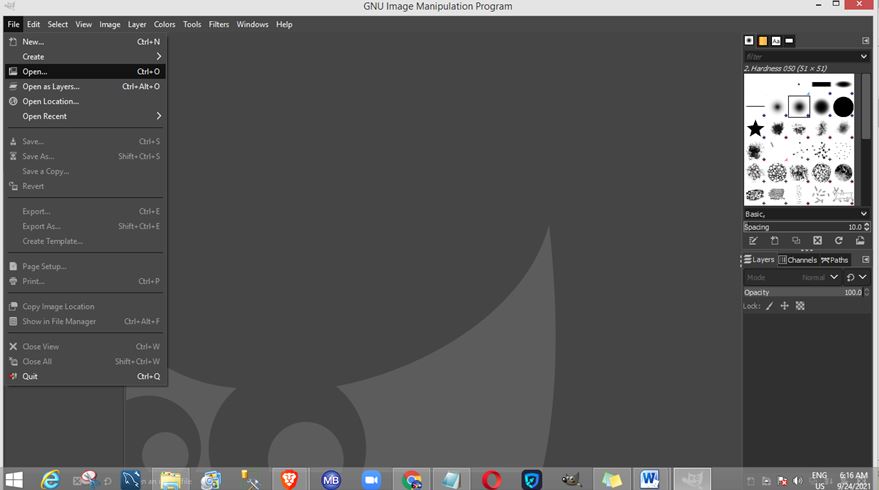
Create a new project. In the upper-left corner of the window, choose File, then Open…, select a photo (or a GIMP project file), and click Open.
To open a blank canvas, go to File, New…, choose a width and height for your canvas, and then click OK.
On a Mac, instead of File, click GIMP 2 in the upper-left corner of the screen.
Step Three
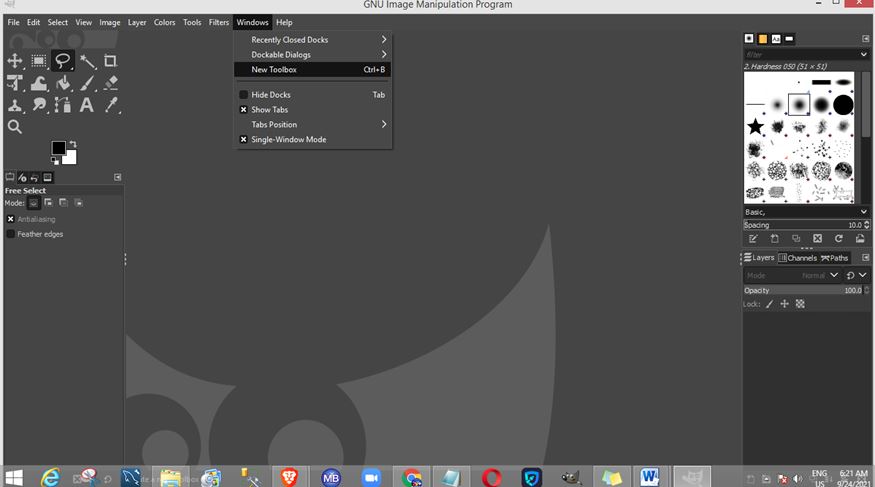
Bring out your tools. If your toolbox does not display immediately when you launch GIMP, click the Windows tab, select New Toolbox from the resulting drop-down menu, then drag the toolbox to the project’s side.
Step Four
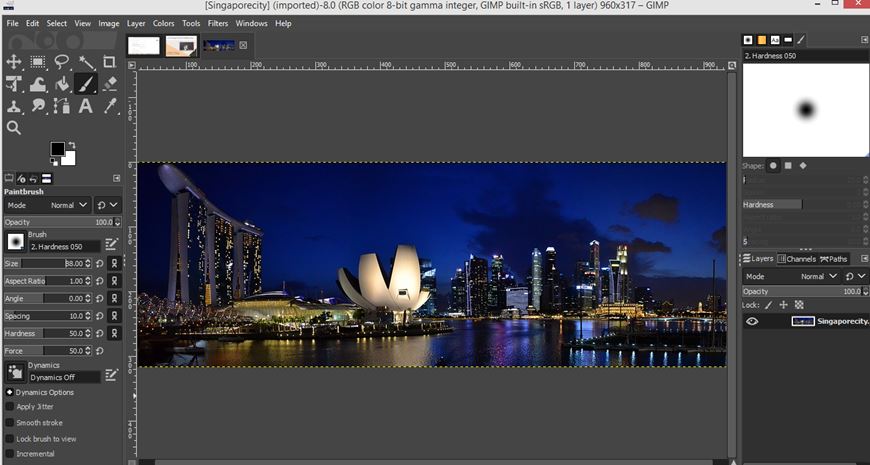
Double-click the “Paintbrush” icon to open it. This will bring up the “Tool Options” pop-up window. This paintbrush-shaped symbol may be seen in the toolbox.
You may also use the pencil and other sketching tools in the toolbox.

Step Five
Scroll down to the “Size” heading. It’s near the middle of the Tool Options window.

Step Six
Adjust the paintbrush’s size. To the right of the “Size” heading, click the downward-facing arrow to shrink the paintbrush or the upward-facing arrow to increase it.

The default paintbrush size is 20.
Step Seven
Test the paintbrush. Click and drag the paintbrush across your photo or canvas to review its size. If you’re not satisfied with the brush size, raise or lower the size more in the Tool Options window, then test your paintbrush again.
Step Eight
Close the Tool Options window by clicking the X button at the upper-right corner of the box. Your brush will remain at its desired length until you alter its size again.
Thanks for reading the post. We hope you can change the brush size in Gimp very quickly to follow our article. Feel free to drop a comment & Share the post.
Conclusion
Changing the brush size in GIMP is a straightforward process that can be accomplished through various methods, depending on your preference and workflow. Whether you choose to adjust the brush size via the tool options, use keyboard shortcuts, or employ the scroll wheel on your mouse, GIMP provides flexible options to cater to your needs. Familiarizing yourself with these techniques will enhance your efficiency and precision in digital artwork and photo editing tasks. Experiment with different methods to find the one that best suits your style and workflow, and enjoy the creative possibilities that GIMP offers.
Read More:


