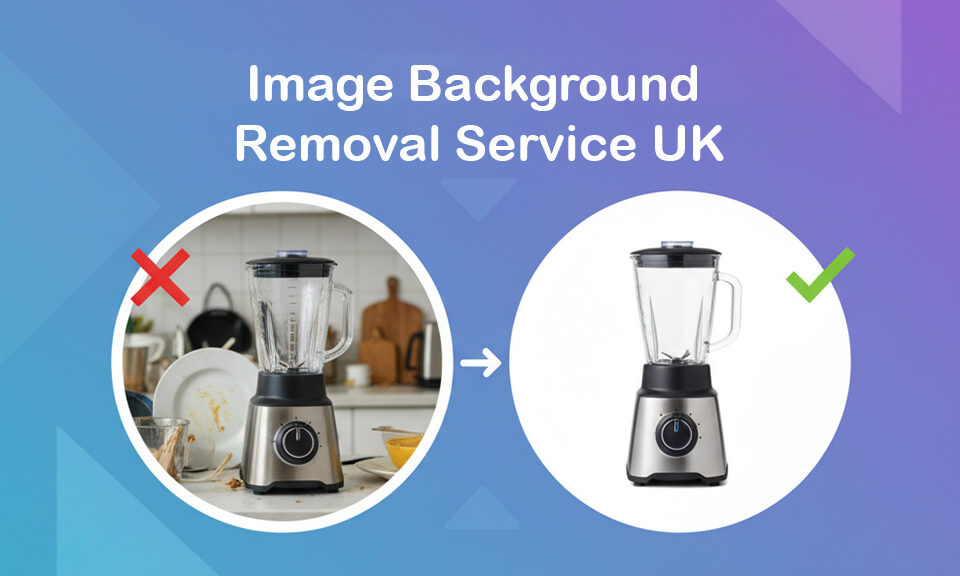
How to Cut Out Image in Photoshop

How to Cut Out Image in Photoshop cc 2021
Cutting out an image in Photoshop is a fundamental skill every designer and photo editor should master. Whether creating a collage, isolating a subject, or removing a background, knowing how to cut out an image accurately can significantly enhance your design projects. Here’s a comprehensive guide to help you achieve precise and clean cutouts in Photoshop.
Having professional photo editing software like Photoshop at your disposal to remove unwanted backgrounds, subjects, or objects from an image is great. However, you must have a basic knowledge of how to use the toolkit to execute the task. This article is structured to educate you on that. So, let’s dive into the stepwise guide.
Table of Contents
Tutorial Guide to Cut Out Images in Photoshop
Cutting out images in Photoshop is critical for designers, photographers, and digital artists. This tutorial will guide you through the process step-by-step, ensuring you can achieve clean and precise cutouts for any project. It explains two simple methods for cutting out images in Photoshop without compromising quality.
Method 1: Using the Quick Selection Tool
Download and install a suitable Photoshop version of the software on your computer system, then apply the stepwise guide below to cut out an image:-
Step 1: Select the Quick Selection Tool
When you launch Adobe Photoshop on your PC, go to the ‘ToolBar‘ panel on the left-hand side. Click and hold on the ‘Object Selection’ tool to open the toolset. Now, find and select the ‘Quick Selection‘ brush.
Step 2: Select the Object of the Image
Next, adjust the brush size to quickly select the path you need in the picture. Once you have the right brush size, click and drag it around the object in the image. Adobe Photoshop will immediately use the built-in AI algorithm to shape the edges.
Step 3: Fine Tune your Selection
After making your selection, you should fine-tune it so your image doesn’t have unwanted patches. To do this, zoom in on the image and switch between the ‘Add’ and ‘Subtract’ modes on the Options toolbar at the top of your screen. Once you’ve completed this, drag the brush around the path that needs to be fine-tuned, and boom, your image is in perfect shape.
Step 4: Cut Out the Unwanted Items
Finally, you can remove that unwanted background or object from your image. If it’s the background you intend to cut out, you should invert your selection and then hit the ‘Backspace’ key. But if it’s the object, all you have to do is hit the ‘Backspace’ key without inverting your selection.
Method 2: Use the Pen Tool
Step 1: Select the Pen Tool
Hit your keyboard’s hotkey ‘P’ to activate the ‘Pen Tool’ on Adobe Photoshop. Better yet, you could select the tool from the tool palette on the left side of the software.
Now that you have the ‘Pen Tool,’ make a clipping path around the object in your image. Before you start, try to zoom in on the picture.
Step 2: Refine the Path
Making a path around an object can be quite tedious. While some people will strive to make a perfect path, others get it wrong. Should in case you fall into the latter category, here is a simple thing to do:
- Select the ‘Direct Selection Tool’ under the ‘Path Selection Tool’

- Zoom in on the image, then start drawing your anchor point around the object
- Once you miss an anchor point, as shown in the image below, select the ‘Pen Tool’ with + on it to add the point

- Now drag the new point to fit in your selection

Try to use the technique above to draw a clean path around the object, then move to the next step given below.

Step 3: Make A Selection from the Path
On the right side of your screen, you will find the ‘Path Panel’.

Underneath, you will see ‘Work Path’. Turn it into a selection by holding down Ctrl, and then click on ‘Work Path’. Immediately, you will see marching ants around your selection.

Step 4: Cut Out the Image
Hold down the Alt key to create an inverted mask, then hit the Delete or Backspace key. And boom! You have successfully removed that unwanted background from your image.

Assuming it’s the car you want to cut out, you do not need to invert your selection. Just hit the ‘Delete’ key.
Step 5: Save Your Work
Save your cutout image in the desired format. If you want to keep the transparency, save it as a PNG file. For further editing or layering, save it as a PSD file.
Video tutorial
Tips for Better Results:
- Use High-Resolution Images: Higher-resolution images provide more detail, making it easier to create accurate selections.
- Zoom In: Work closely on the edges by zooming in to ensure precision.
- Feathering: Slightly feather the edges of your selection to avoid harsh edges.
- Refine Edge Brush: Utilize the Refine Edge Brush Tool within the Select and Mask workspace to improve hair and fur selections.
Conclusion
Cutting out an image in Photoshop can transform your design projects by allowing you to isolate and manipulate subjects precisely. By following these steps and practicing regularly, you can master this essential skill and apply it to various creative endeavors. Whether you’re designing marketing materials, creating digital art, or editing photos, the ability to cut out images accurately will elevate the quality of your work and expand your creative possibilities.
Now that you have the two simple techniques for cutting out images in Photoshop, you can quickly execute background removal or effortlessly delete objects/subjects from your pictures. The guide is simple and quick. Follow the steps accordingly, and you are good to go. Happy editing!
We at Clipping Path Creative Ltd offer high-quality image cutout services at affordable prices with faster delivery. Try us!


