Amazon Product Photography Tips Basic to Advanced

One thing you should remember is that a picture is worth a thousand words. It may not sound impactful to a beginner, but it is a compelling line for an Amazon marketer. Most people who are shopping online or looking for something are fascinated by visual imagery. If you have uploaded a few good shots on the eCommerce platform, people will be intrigued. Even if a person is only window shopping, they can convert through quality images.


Now, you have a brief idea about the importance of product photography. Although it relies on chance, you can have more luck with photos than with an average advertisement. It is because an image can concisely explain more things and still retain beauty. Moreover, many people don’t read the detailed description, and some don’t read at all. At this point, the photos do the trick of explaining the complete content to such an audience. Also, a few people want to get as much as possible quickly – so images help.
Although it is a favorable tool, it is not child’s play. One requires extreme expertise and control over photographic techniques. Also, I need to have essential skills in its application and usage. There are many intricate things that an amateur person can miss and may lose a sale. So, to make things easy for newcomers, we at AMZ One Step have prepared a guide to basic product photography. Even if you are a veteran in the field, there is nothing wrong with learning new things. Moving on, here is how you can get started with photography and the vital things you need to know to succeed. If used correctly, it can do much more than that – so let’s dive into details to learn more.
Table of Contents
Everything To Know To Get Started Amazon Product Photography
We won’t be wasting any more time getting started with the good stuff. Everything present here is of grave importance and will provide keen insight. So, without further ado, here are some essential tips and tricks. Each technique is vital before filling your product pages with product photography. You should know that this guide is about Amazon product photography from a basic to an advanced level. It contains everything from choosing a camera to uploading a final appealing image. Let’s get on with it.
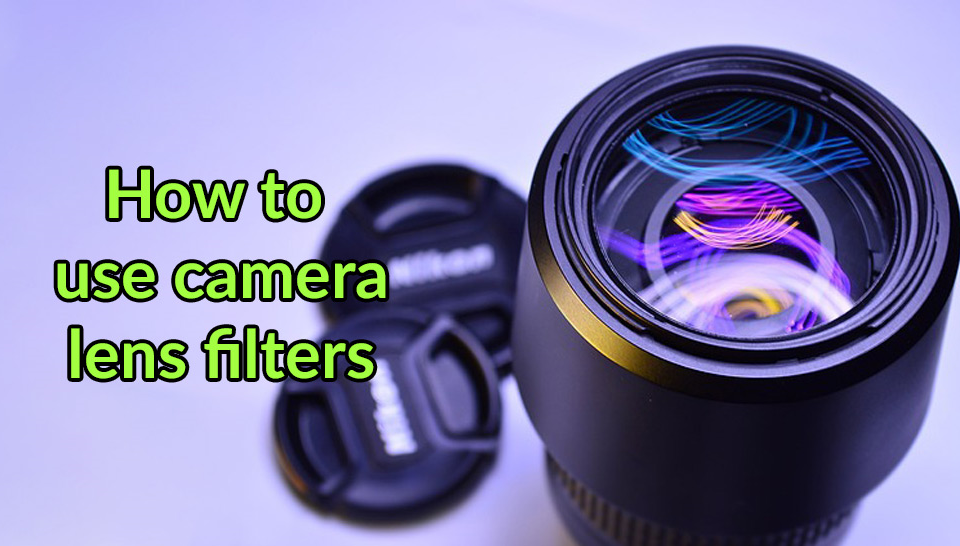
1. Choice of Equipment
Although a better camera indeed leads to quality pictures, it is not a must-have tool. If you can afford to purchase a high-end, high-megapixel camera, it is good. If you can’t afford to spend a lot of money, you can also opt for a smartphone camera. Nowadays, phone cameras are more than capable of capturing crisp images. Some are even better than some low-medium-end DSLRs, like an iPhone camera or a Carl-Zeiss optics lens.
amazon product photography Equipment
The main focus is to shoot outstanding, sharp images with good lighting and settings. Moreover, advanced cameras these days also have manual and automatic options. Once you get the hang of things, you can switch to manual mode and get more control over images. If you are having trouble, you can watch tutorials and videos and start practicing to get better.
Indeed, while a quality lens is essential, the person behind the trigger also matters. The skills are equally significant as the camera. So, it is better to take lessons from a professional photographer on how to capture good angles. They can teach you the techniques behind million-dollar pictures, and you can start taking notes. Take a keen interest in lighting, styling, and processing choices and practice to get the desired results.
2. Additional Requirements
The process does not stop if you are all ready and set with the camera. Some hard angles and shots require much more than just a mere camera. For this purpose, you may need a tripod stand or a stage set to get optimum coverage.
Moreover, if you are capturing a moving shot or an expected-to-be scene, you need patience—the level of patience that an average person cannot achieve for a long time. Also, long exposures or continuous scenes are almost impossible for a human being. If you try to process them yourself, there is a greater chance that the shot may end up blurry. So, including these, many other settings require some extra accessories.
Getting a tripod stand is advisable because it is not cost-effective and gives good results. You can check different stores and shops for a cheap option and quickly get the work done.
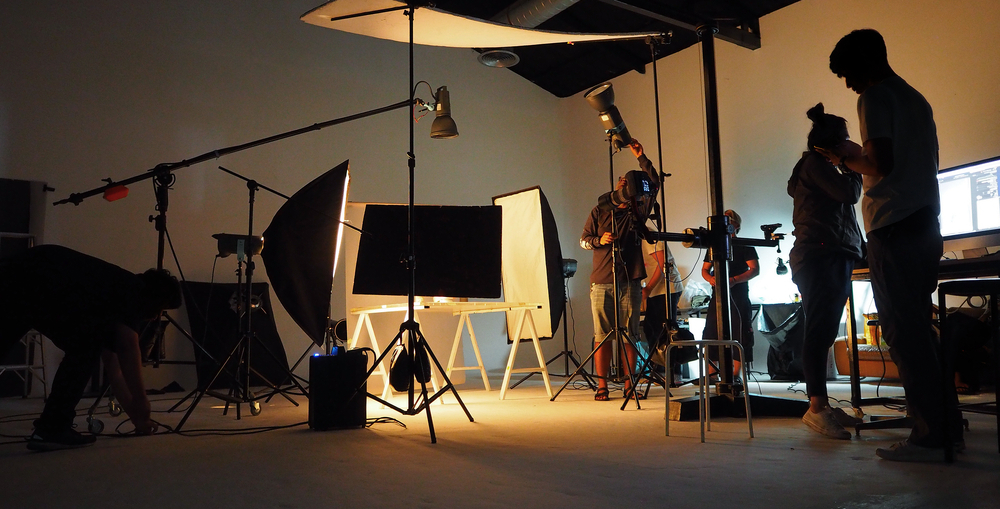
3. Lighting and Environment
Moving on, you now have the appropriate tools for getting the required results. The next step is setting up the scene. Here, lighting plays a significant role. It is crucial to plan your image first and what type of lighting you may need. Different lighting types include natural light and artificial light. The correct use of these is what separates the masterclass from a kindergarten.
Natural light includes sunlight and god rays. Both are great and utilize different means of glare. For example, a juice box or a plant will look better and be more enhanced under natural light. On the flip side, a light bulb may become dull and lose its potential purpose.
Artificial light includes light bulbs, candles, lanterns, etcetera. All the options in this category are also great, and the usage depends on the product. If you showcase a book or a pen, it will look better under artificial light sources.
You can tweak some settings based on your preferences and requirements. For example, you can use windows for a glare effect and controlled light. Moreover, you can shoot using ring lights or light boxes to get good focused light. Ultimately, everything comes down to creating a perfect scene, adjusting light, and then pointing and shooting.
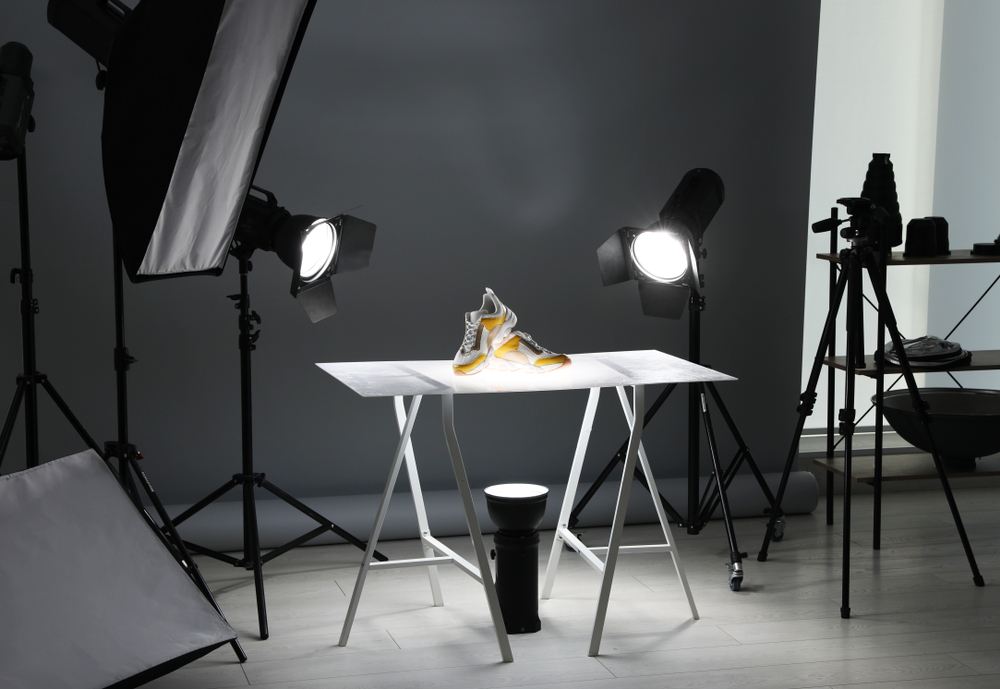
4. Stage Adjustments
Another thing to remember is that setting up a proper stage is just as vital as any other thing. Several variables, such as height, quantity of the product, and background, affect the final result. It is of grave importance, especially in the eCommerce product photography industry. Even if you have a top-class camera and a suitable light source, a dull stage will make the shot look dull as well.
Staging is possible anywhere on Earth, no matter where you choose to shoot. Here are some things of interest for setting up a good scene.
You can use white sheets or boxes to give a clean and endless background feel.
Flash bounce cards or standalone cards are viable for good shadows.
The choice of a portrait or landscape mode also depends on the requirements.
If you want to adjust the height, you can use a pile of books, a barrel, or a dinner table. Everything is possible if you put your mind to it and brainstorm to get the desired results.
Do you need a Product Photographer?
Improve Your Photography Skills
Now, you must know the importance of Amazon product photography and how to implement it. You can get a handful of good shots to choose from and finalize a few great ones. Still, you are missing one thing – the post-processing details and extra stuff. First of all, resize the image according to the requirements provided by the website. After that, you can use Adobe Photoshop worldwide to enhance some settings. You can contact a professional for advice and tips to get an appealing image. There are also a couple of more options based on your skill level. Whatever the choice, the possibilities are endless.
There are plenty of tutorials to get you started from the basics. Remember, a picture is worth a thousand words, and a good photo can increase sales.
Ref:
[1] https://www.adobe.com/creativecloud/photography/discover/product-photography.html


