
How to Improve Product Photos in Post-Production

If you’re not a professional photographer, your product photos might not be as great as you’d like them. Fortunately, you can do a few things in post-production to improve your photos.
If your e-commerce product photos aren’t up to par, don’t fret! There are ways to improve them in post-production. You can make your product photos look more professional and polished with a few simple tweaks. In this article, we’ll show you how to improve your product photos in post-production with easy tips and tricks.
Table of Contents
Why are product photos important?
Product photos are important because they give customers a visual representation of what they are buying. Good product photos can make or break a sale, so it’s essential to take the time to get them right.
There are a few things you can do to improve your product photos in post-production, such as:
– Adjust the levels or curves to improve the overall contrast and color of the image.
– Use the clone stamp tool to remove imperfections or unwanted elements from the photo.
– Crop the photo to focus on the main subject and create a more dynamic composition.
By improving your product photos in post-production, you’ll increase your sales and give your customers a better overall experience.
Background Removal
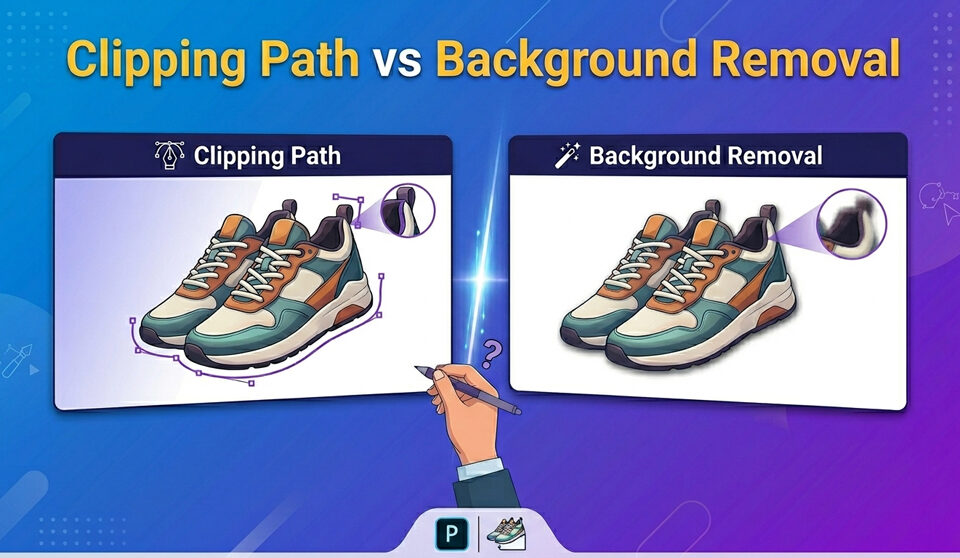
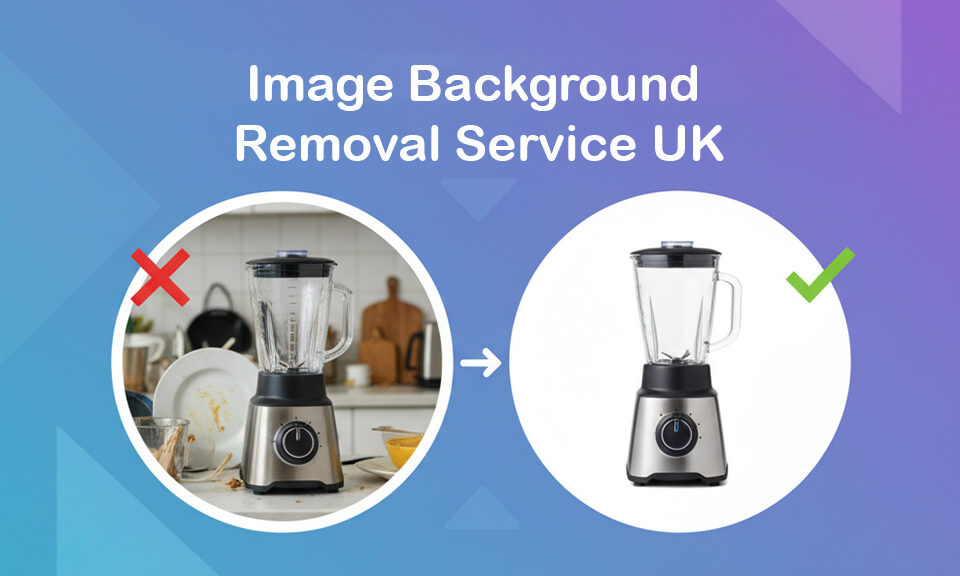
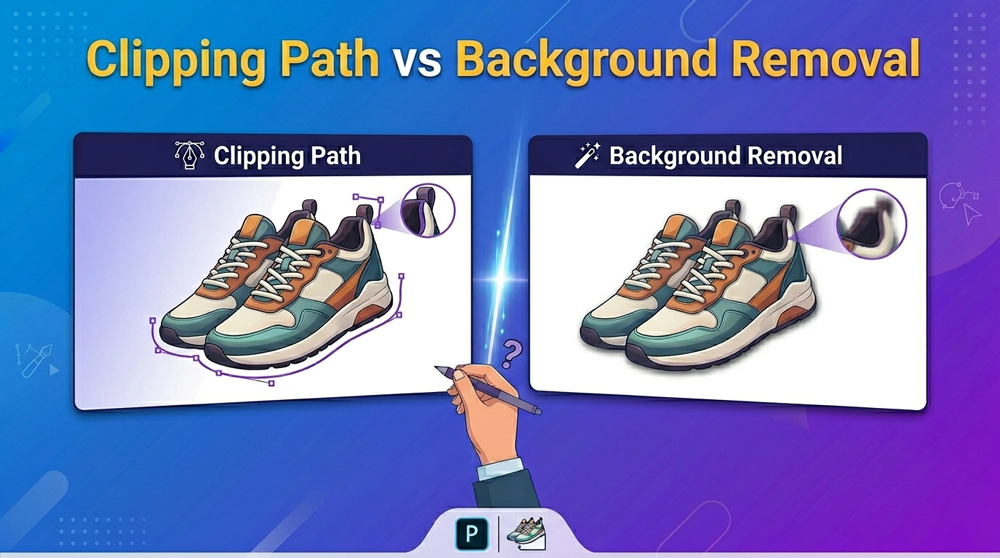
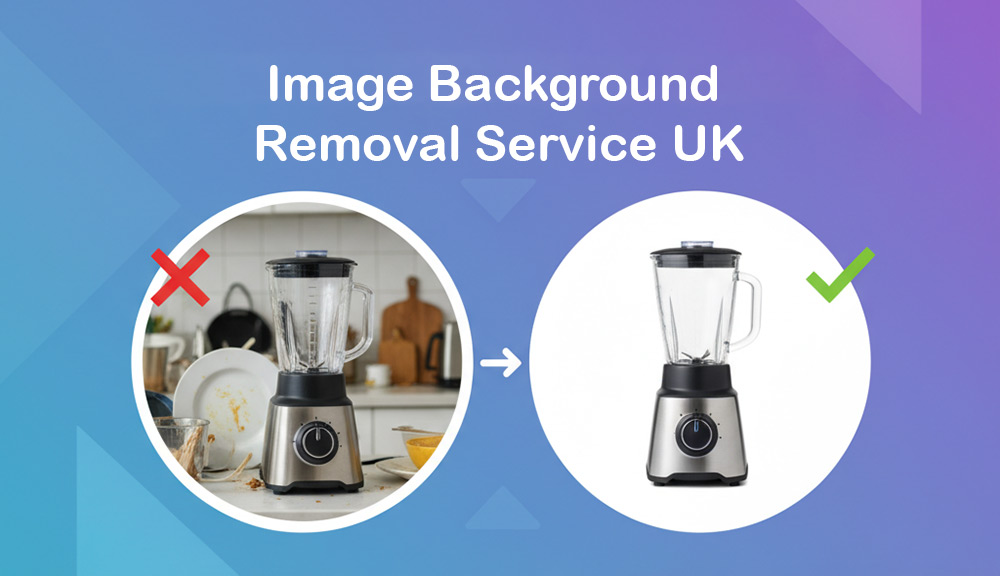
Background removal is one of the most commonly used tools in post-production to improve product photos. Removing the background can make the product stand out more and draw attention. There are a few different ways to remove backgrounds, and which one you use will depend on the photo and the desired result.

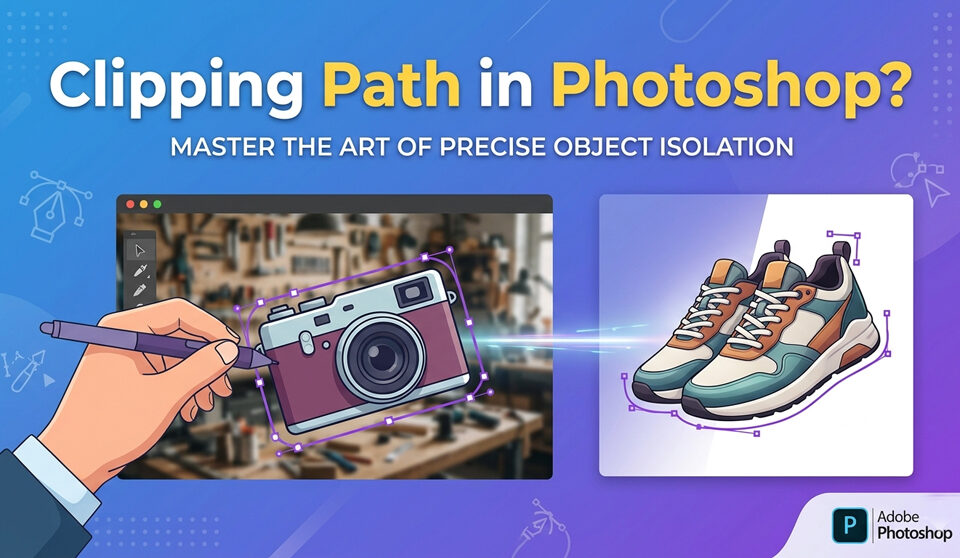
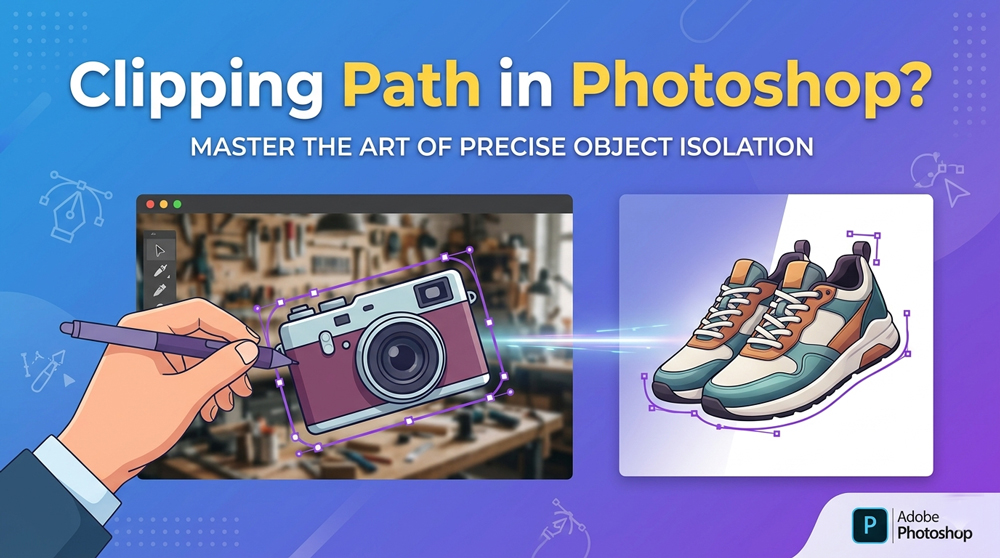
One way to remove the background is to use a clipping path. A clipping path is an outline you create around the object you want to keep. Everything outside of the clipping path will be removed. Clipping paths can be created with Photoshop or other editing software.
Another way to remove the background is to use a layer mask. A layer mask hides parts of a layer so that only certain parts are visible. With a layer mask, you can paint over the background so that it becomes transparent.
Add a Drop shadow
Adding a drop shadow to product photos is an easy way to improve their look in post-production. Drop shadows can make photos look more realistic and add depth and dimension.

To add a drop shadow in Photoshop, select the layer to which you want to add the shadow. Then, go to Layer > Layer Style > Drop Shadow. In the drop shadow dialog box, you can adjust the shadow’s opacity, angle, distance, and size. Experiment with different settings until you find a look that you like.
Ghost mannequin for clothing product photos
A ghost mannequin is a great way to improve product photos in post-production. By editing the image to remove the dummy, the product appears to be floating mid-air, giving it a more professional look. Additionally, it allows for a more accurate representation of the product’s size and shape.

First, take a photo of the product on a white background to create a ghost mannequin effect. Then, remove the dummy from the image using Photoshop or another editing program. The result will be a photo of the product floating in mid-air.
This technique is especially effective for clothing products, as it allows a more accurate representation of how the garment will look on a human body. However, it can also be used for other products, such as shoes and accessories.
Photo Color Correction Technique
There’s no need to take new photos whenever you want to change the colors in your product photos. With some Photoshop know-how, you can quickly and easily change the colors to whatever you want.
 To start, open your photo in Photoshop and create a new layer. Then, using the paint bucket tool, fill the layer with the desired color. Next, set the layer mode to “color” and reduce the opacity until you’re happy with the look. Finally, merge the layer down and save your image.
With this technique, you can experiment with different colors until you find the right one for your needs. So next time you think about taking new photos because of a color change, remember that Photoshop can help you.
Remove tags and hangers.
If you want to improve the quality of your product photos, you can remove the tags and hangers. This will give your photos a clean and polished look. Here’s how to do it:
1. Use scissors or a knife to cut off the tags.
2. Remove any hangers by gently pulling them out of the photo.
3. If there are any other imperfections, you can use Photoshop or another photo editing program to fix them.
By taking these simple steps, you can make your product photos look much more professional.
Apply the Photo retouching technique.
The post-production processes that can make or break a shoot are the most critical aspects of product photography. This is where photo retouching plays a crucial role. By applying various photo retouching techniques, you can transform an average product photo into a stunning one.

One of the most common photo retouching techniques is dodge and burn. This technique lightens or darkens specific areas of the image to create more contrast and depth. Another popular technique is cloning and Healing, which removes blemishes or imperfections from the product.
If you want to improve your product photography, consider using photo retouching techniques in post-production. With some practice, you can produce excellent results that will wow your clients.
Use white balance correction.
Use white balance correction to improve product photos in post-production. This technique allows you to adjust the overall color of the photo to make it more accurate. This is especially useful if the product is being photographed in a different light than it will be seen in person. First, white balance correction was used to identify the type of light used to take the photo. Then, use the appropriate slider in your editing software to shift the colors until they look more natural.
Adjust the levels or curves.
Whether you’re a professional photographer or a hobbyist, there are a few basic things you can do in post-production to improve your product photos. One of the most important is adjusting the levels or curves. This will help to even out the exposure and contrast in your image, making it look more polished.
Start by making minor adjustments and previewing them until you’re happy with the results.
Crop the image
In product photography, “post-production” refers to any editing done after the photo has been taken. This can include cropping the image, adding filters, or changing the background.
One easy way to improve your product photos is to crop them before uploading or sending them off. This can help eliminate any unnecessary distractions from the photo and make it look more professional. For example, if a person is walking by in the background of your photo, cropping them out can help draw attention to your product.
Conclusions
The post-production process is just as important as the shoot itself. By editing and improving your photos, you can create stunning images that will help sell your products.
There are a few key things to remember when editing product photos. First, pay attention to the background. Make sure there are no distractions or unwanted elements in the frame. Second, focus on the details of the product. Enhance colors, contrast, and texture to make the item look its best. Finally, don’t be afraid to experiment with different effects and filters. Creativity can go a long way in making your photos stand out.
Following these simple tips can take your product photography to the next level.


