
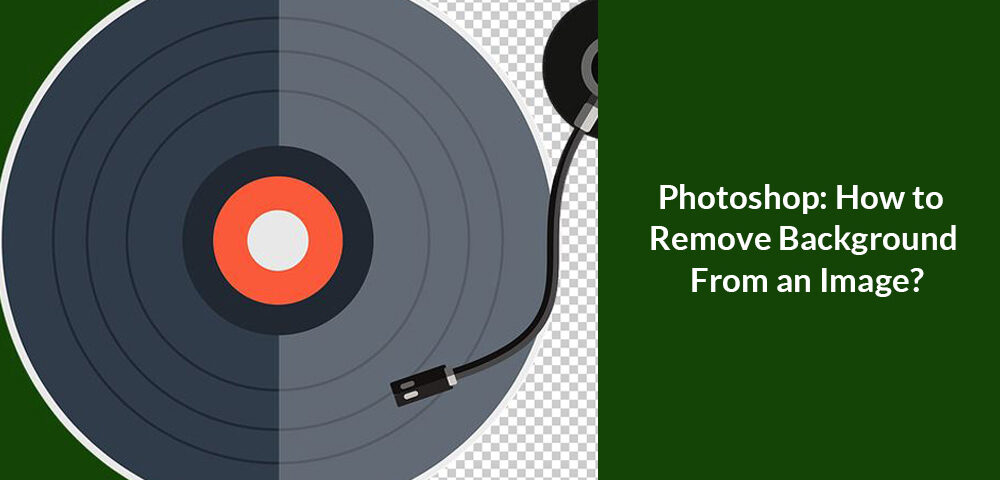
Photoshop: How to Remove Background From an Image?
Photoshop How to Remove Background
Do you find it hard to remove solid colors from your image background? Keep reading to find out how you can accomplish that.
Removing background from an image can be quite tricky, as you need to struggle with finding the right tool and having the basic knowledge of how to use it. However, in this article, you will be educated on how to remove background from an image freely and quickly using one of the most powerful photo editing software, Photoshop. Before we discuss the subject of the day, let’s have an overview of Photoshop.
Table of Contents
Photoshop
Photoshop is an all-in-one software designed by Adobe Inc. to help you and me edit images without compromising their quality. It has a simple user interface so end-users, including the non-tech-savvy ones, can easily navigate. The software works flawlessly across all platforms, such as Mac and Windows OS. Photoshop is designed with rich editing tools that you can select from to pimp your images so they look attractive. Aside from the application in photo editing, graphics designers also find the software helpful as it supports sketching and designing multiple layers. With all these aesthetic features, Photoshop has its setback: the high subscription price. However, the price is worth it. So investing in it will yield positively.
Guide to using Photoshop to Remove Background from Images.
There are many ways to remove background from images using Photoshop. However, we will use the pen tool to explain the process. Check out the detailed stepwise guide given below to eliminate unwanted backgrounds from your photos using the Adobe Photoshop CC pen tool:

Step 1: Download and Install Photoshop
To carry out this operation, you first have to download and install a compatible version of Adobe Photoshop CC 2020 on your Windows or Mac OS. After the successful installation, click on the program icon on your device interface to launch it for your photo editing process.
Step 2: Insert an Image ( Shortcut key: Ctrl+O)
Next, insert the desired image you want to remove from the background. To do this, click the File button at the top left corner of the toolkit. When you do that, a drop-down menu will appear on your screen. Select the Open icon from the list of options, and you will be directed to your device file manager, where all your images are stored. Browse through the list to find the image file. Once you find it, please select it and then open it. Zoom the image 200-300% until you can see the edge.
Step 3: Prepare your Tool
Now that you’ve added an image to edit, the next thing to do is trace out the image’s subject, leaving the unwanted background you want to erase. To do this, you will need a selection tool. Photoshop CC has many selection tools built into it, but I implore you to pick the Pen Tool because of the simplicity and efficiency in creating paths. Use the hotkey, P, to select the pen tool, or better yet, find the tool on the tools palette on the left-hand side of the software.

When you select the pen tool, it will appear just as shown in the image above.
Step 4: Use the Pen Tool to Create a Path on the Image
Use the pen tool to create anchor points, also known as ‘clipping path’ in Photoshop, around the image so you can trace out the unwanted background from the image. You are bound to make mistakes when trying to do this, but there is no problem with that, as you can use the Ctrl + Z keys to undo the error made.

Step 5: Fine-tune your Selection
If you need to adjust the paths created, you don’t need to start the process all over. You must hold down the Alt or Command key while dragging an anchor point. With that, your tool will temporarily change to the Direct Selection Tool.

Step 6: Remove the Background from the image
Now you are done with the tricky part. All you’ve got left to do is select the background and then erase it. To do this, you first need to save the current selection path, which can be done by switching back to the pen tool by hitting the P key on your PC. If you don’t find Paths Panel, Click Window from the top menu and click the Paths tab. After that, select the work path, then click on the Load Path As a Selection icon at the bottom of the program where the path palette is located. Forget about the options that pop up. Once you’ve made a clear path, their effect won’t show. Just hit the OK button, and the object of the image will be selected.

Now try to Inverse the selection to erase the background rather than the subject selected. To do that, locate and click on the Select menu at the program’s top. Please scroll down to the Inverse ( inverse Shortcut key: Shift+Ctrl+I ) option and click on it. Once you do that, the selected path will switch from the subject to the background. Hit the Ctrl + X key, Backspace key, or Delete key to erase the background while the object of your image remains.

Step 7: Save the image
You have successfully removed the background from an image. Therefore, you should save the files on a transparent background. Press Ctrl+S or click File from the top menu, then click the Save button. Select the PNG format from the dropdown menu and save it to your targeted folder.
Read More: What is Clipping path in Photoshop?
Conclusion
That’s all on the tutorial guide about “Photoshop How to Remove Background.” We do hope the solution provided was helpful. You do not need to be a tech expert before you can use the Adobe Photoshop software to erase unwanted backgrounds or solid colors from an image. Use the stepwise guide provided in this article, and you are good to go. It’s simple to assimilate and fast.


